

The ordering process
As CUSTOMFLEX® ARTIFICIALIRIS is a custom-made product, the manufacturing time is usually four to eight weeks. To ensure speedy processing, please note the following when ordering the implant:
topic overview
Online Certification Course
Together with an international team of renowned iris experts, HumanOptics Holding AG has developed an online certification course. The course provides up-to-date basic knowledge on the application of CUSTOMFLEX® ARTIFICIALIRIS and covers the latest training standards. Each participant receives a certificate number, which is required for ordering the product.
Click here to register.
A good photo print is crucial
The colour of the CUSTOMFLEX® ARTIFICIALIRIS is customised based on the photo prints submitted to us. For this reason, the quality of the photo print is crucial for a natural postoperative appearance for the patient.
Only the doctor and patient can assess on site whether the photo prints accurately reproduce the colour scheme of the natural iris. Colour prints must be sent in order to rule out any deviations in colour reproduction between different printers and screens. A digital photo file is not sufficient.
If the clinic or doctor does not have the necessary equipment for high-quality photographs and prints, we recommend having the photographs taken by a professional photographer. Below you will find instructions that provide the photographer with the necessary information to take adequate photographs. Further information on this can also be found in the presentation Photo Guidelines
How do you take a good photo?
Two photos are required for production:
- Photo of the eye used as a colour template
- Photo of both eyes (‘sunglasses cut-out’)
Standardised photos measuring 9 x 13 cm with the iris visible in the individual images measuring approx.
3–6 cm are ideal for this purpose.
How do you evaluate photos?
The photo print should be compared with the natural iris. To do this, hold the photo print directly next to the patient’s eye. The colour pattern of the natural iris must match that of the sharp photo print. The sclera should be white and without any colour cast. Once you have evaluated the image selected as a template for production, please date and sign it.
Tips for taking a good photo!
Procedure
- Illuminate the patient’s eye evenly so that no shadows appear on the iris.
- Perform a white balance with your camera at the exact location where you want to take the photo of the patient’s eye. A grey or white card can be helpful here.
- The patient’s iris should be completely visible and sharply focused.
Important
- Slit lamps, fundus cameras or other video cameras are not suitable for taking good photos.
- Good, even lighting of the eye is crucial; try not to use a flash, as this could overexpose the photo and create reflections from the cornea.
- Laser printers are generally not as good as inkjet printers.
- Photo paper produces better results than ordinary copy paper.
Order form
Please send the completed and signed order form together with the required photo prints by post to the following address:
HumanOptics Holding AG
Spardorfer Straße 150
91054 Erlangen
This post is also available in: German
OUR
CUSTOMER SERVICE
YOUR
QUESTIONS
Our experts support you with your questions at any time.
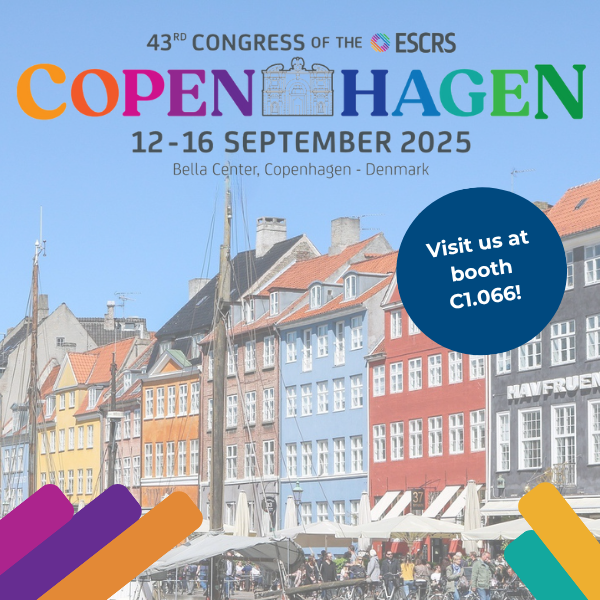
HumanOptics represented at the 43rd ESCRS Congress in Copenhagen
 News
News
We are pleased to announce that HumanOptics will be participating in the 43rd Congress of the European Society of Cataract and Refractive Surgeons (ESCRS) in Copenhagen, Denmark, from 12 to 16 September 2025. The ESCRS Congress is one of the most important international platforms for ophthalmologists, researchers and companies in the field of cataract and […]